In this article, we will have a quick overview of the PNG file structure and some Steganography technics used. PNG Steganography is often used for CTF, so I hope this article will be helpful :)
PNG file structure
Chunks
A PNG is composed of chunks. Each chunk contains four parts:
- Length (4 bytes): indicate the number of bytes in the chunk’s data field (ignoring himself, chunk type and
CRC) - Chunk type (4 bytes): indicate the chunk type, limited to ASCII letters
- Chunk data (length depends of the chunk type): the size can be from
0 to (2^31)-1 bytes CRC(4 bytes): calculated using the chunk type and data. An incorrect CRC will result in an invalid PNG.
A PNG file is composed of a signature (magic bytes) and 3 critical chunks:
| %PNG…. | 89 50 4E 47 0D 0A 1A 0A |
|---|---|
| IHDR | Contains informations about the image. It must be the first block. It contains : width (4 bytes) ; height (4 bytes) ; bit depth (1 byte) ; color type (1 byte), compression method (1 byte) ; filter method (1 byte); interlace method (1 byte) |
| IDAT | Contains the image data. You can have as much block as you want resulting in the same image. |
| IEND | Indicate that this is the end of the image. |
Here is an example:
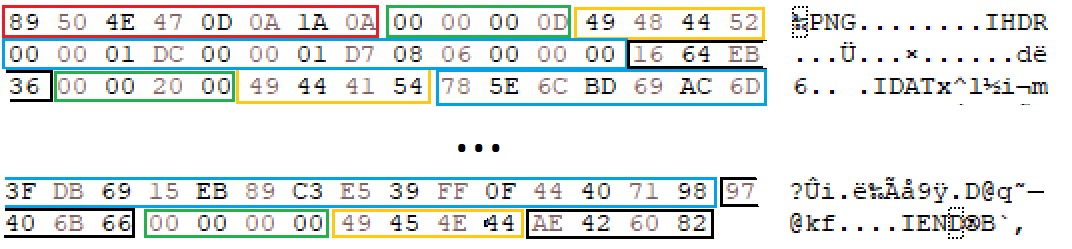
- Red: PNG header
- Green: Chunk length
- Yellow: Chunk type
- Blue: Chunk data
- Black: CRC
It can also contain some other chunks, but they are optional: PLTE, tIME, iTXt, tEXt, zTXt, sRGB, sPLT, sBIT, PHYs, tRNs, iCCP, hIST, gAMA, bKGD, cHRM.
More informations can be found here.
PNG and Steganography
It is impossible to cover all the Steganography technics used, but I will try to explain the most common.
Tools
Here is a non-exhaustive list of tools that you can use:
-
Tweakpngis a tool that can check the validity of a PNG. It also allows you to edit the PNGstructure without editing the hex data manually (IHDRedition,IDATfusion,CRCedition, etc.)
-
HxDis an hexadecimal editor with a GUI and powerful capabilities -
pngcheckis an executable that can check the validity of a PNG -
Aperisolveis a website that embeds a lot of usefull tools. You just have to upload your image and it will perform various operations: binwalk, filters, foremost … -
zstegis a tool that can be used to embed data in PNG -
Stringswill allows you to see if the image contains printable text -
exiftoolcan be used to see EXIF metadata -
binwalkallows you to see if a file contains another file(s)
Embedded strings
You can simply add textual data in the tEXtchunk:

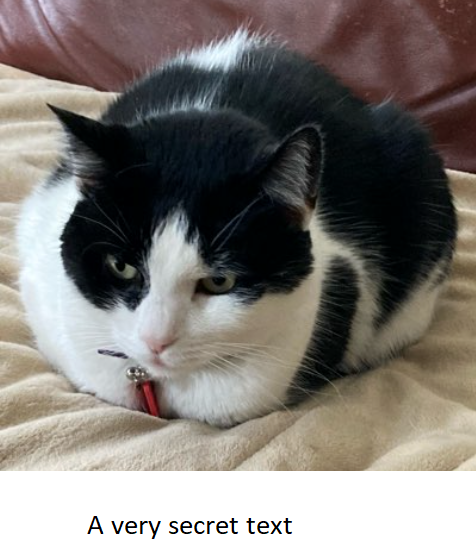
You can also add some text directly at the end of the image. The image will still be valid because the text is after the IENDchunk:
$ echo "Insert flag here" >> cat.png
$ strings cat.png | tail -n 10
[LAzph
#Fm-
mm;v
pRr6
zb%x)
6<+}
7Ah&
"U5C
IEND
Insert flag here
PNG fixing
A very simple way to hide a PNG image is to edit a part of the magic bytes and removing the extension. For example, you can just edit the first byte from 89 to 88:

The image will appear as data:
$ file what
what: data
You also won’t be able to open it with a regular image viewer. Anyway, it would be a very simple challenge since you can easily understand it is a PNG file with any hexadecimal editor or strings.
Another way would consist of altering data in a critical chunk. The image will be seen as a PNG file but if, for example, the IHDR chunk is broken, you won’t be able to open it.
For example, let’s break the IHDR chunk:
- Indicate a wrong chunk size
- Changing the CRC to a random one
You can also break it by editing the chunk name or the data inside. In our case, the original chunk is:
00 00 00 0D | 49 48 44 52 | 00 00 01 3C 00 00 01 3C 08 06 00 00 00 | 5D 05 0D 06
Length        Chunk name       Data                                   CRC
If we want to corrupt it, for example:
DE AD BE EF| 49 48 44 52 | 00 00 01 3C 00 00 01 3C 08 06 00 00 00 | FF FF FF FF
If we check it, the image is now corrupted and you won’t be able to open it:
$ pngcheck meme.png
meme.png  invalid chunk length (too large)
ERROR: meme.png
But now: how do we fix it?
The first thing to do is to repair the length. Since it is a known chunk type, we know exactly which size he’s supposed to be: 13 bytes (0x0D)
00 00 00 0D | 49 48 44 52 | 00 00 01 3C 00 00 01 3C 08 06 00 00 00 | FF FF FF FF
Now we need to fix the CRC. Tweakpng is very helpful on this point:
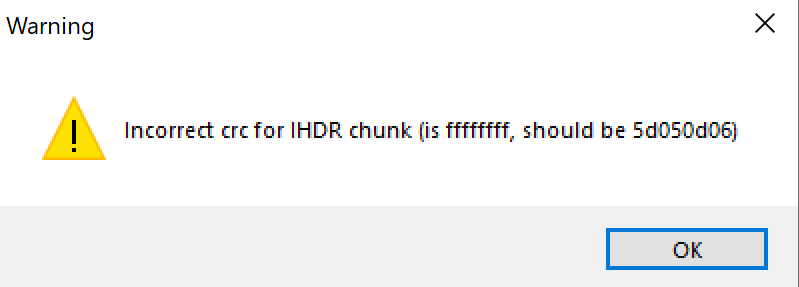
You just need to fix it and you’ll be able to open your image again!

IHDR size attribute
It is possible to hide data thanks to the IHDR size bytes. Take this image for example:
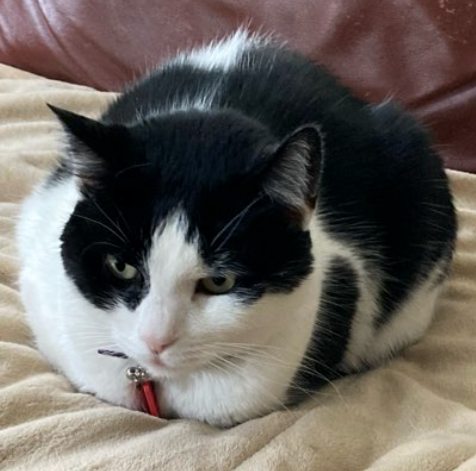
This image is perfectly valid if we check it with tweakpng or pngcheck:
$ pngcheck catsteg.png
OK: catsteg.png (476x471, 32-bit RGB+alpha, non-interlaced, 61.6%).
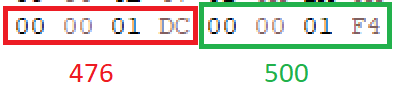
But what happen if we try to extend the size in the IHDRchunk? If we set the height to 500px (don’t forget to fix the CRCwhich won’t be valid anymore if you edit the size):
We can see that our image contains blank content at the bottom. If we extend it again (550px height):
It is also important to note that if you try to extend the size of an image already at its maximum size, it may result in an unreadable or a corrupted image (although the image is still valid).
Embedding PNG in a PNG
In this section, we will see how we can hide a PNG into another PNG:
- This won’t be flagged by
binwalkorforemost - The original image will be valid and you’ll be able to open it
But how do we proceed?
Let’s say that we want to embed our meme image into our meme image. With HxD, we can take the whole content of our image (from magic bytes to IEND included) and copy all of it it before the size declaration of a chunk. We also need to:
- Modify the magic bytes of the embedded image
- Edit the chunk size so the parser will see our embedded image as a big chunk (from the first byte after our fake magic byte to the last D of
IENDchunk). In our case, it’s00 01 06 BB - Edit the
CRC(in our case, fromAE 42 60 82to1F 8D B1 37) (optionnal, because a wrong CRC for our fake chunk won’t trigger an image viewer)
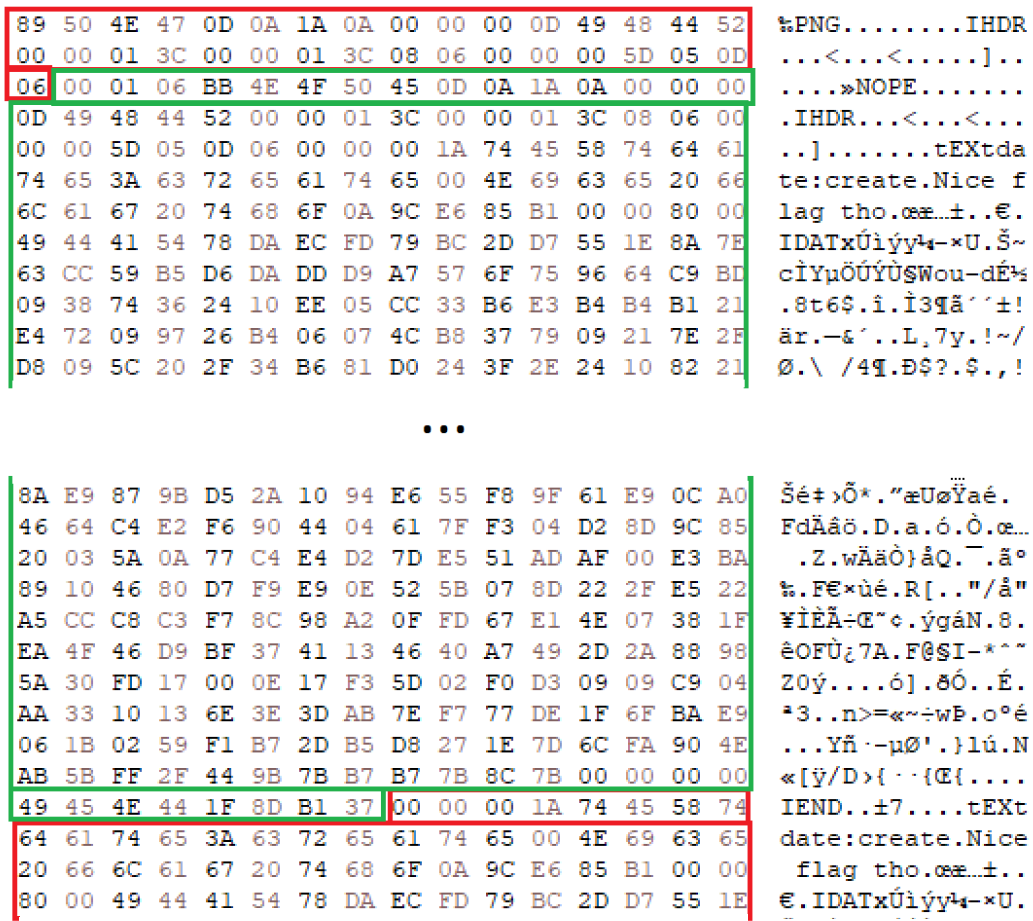
You can see above:
- Red: original image
- Green: embedded image
You can open it with a regular image viewer and it’s not flagged by binwalk/foremost :
$ binwalk meme.png

DECIMAL       HEXADECIMAL     DESCRIPTION
--------------------------------------------------------------------------------
0             0x0             PNG image, 316 x 316, 8-bit/color RGBA, non-interlaced
116           0x74            Zlib compressed data, best compression
67350         0x10716         Zlib compressed data, best compression

$ foremost meme.png -v
File: meme.png
1 FILES EXTRACTED
png:= 1
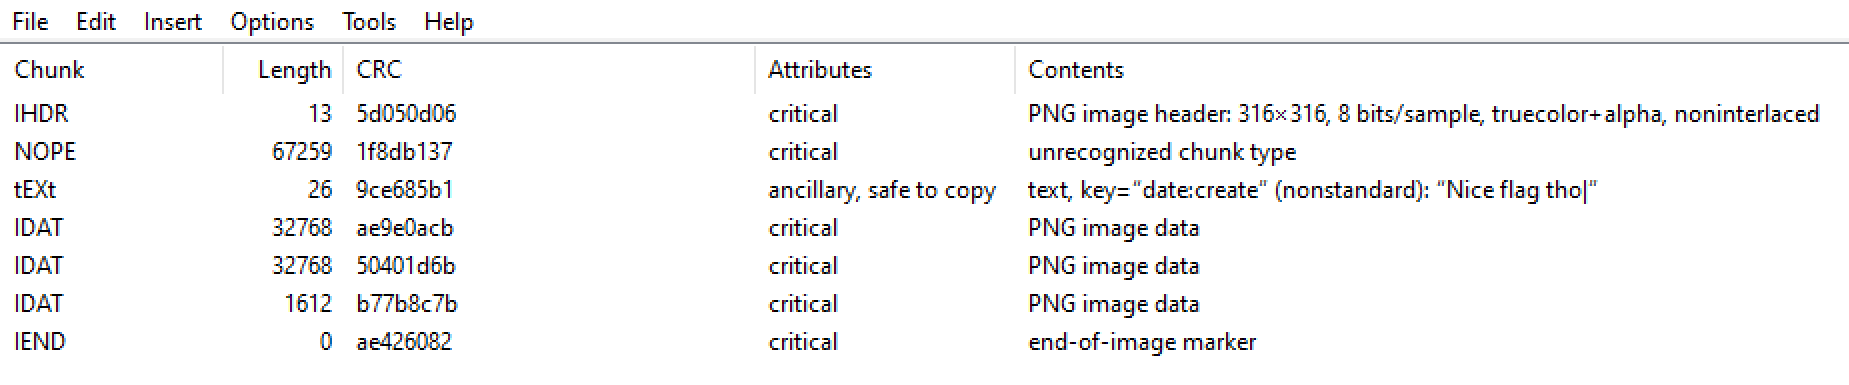
But we can easily see that there is a problem by looking at the hex structure, or with tweakpng/pngcheck:
$ pngcheck meme.png
meme.png  illegal (unless recently approved) unknown, public chunk NOPE
ERROR: meme.png
Now, if you want to extract the embedded image, you just have to:
- Extract the content from the fake magic bytes to
IEND,CRCincluded - Copy it into a file
- Correct the magic bytes
- Correct the
CRCafterIEND(if you edited it) - Name it
whatever.png
LSB
This technic isn’t related to PNG structure and can be used on various files (including audio files), but it is very common for PNG.
A pixel is composed of 3 bytes. Each byte represents a color (R,G,B).
Binary : 11111111 00000010 11111110
Decimal : 255      2        254
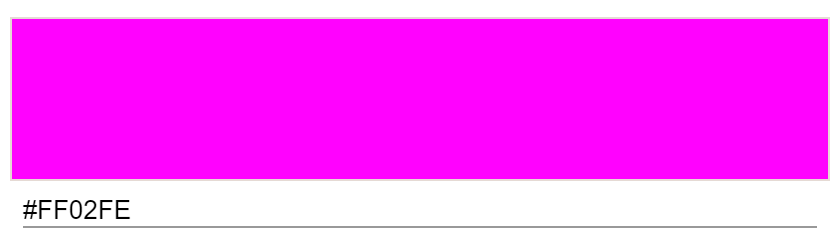
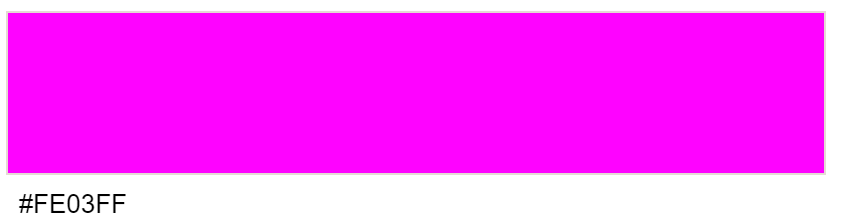
But if you modify the LSB (Least Significant Bit) of each byte, it is almost impossible to see the difference for the naked eye. For example, if I want to encode 011the new pixel color will be:
Binary : 11111110 00000011 11111111
Decimal : 254       3         255
If you want to decode it, you need to extract the LSB of each value for each pixel. For example, if LSB are stored on the first line of the image it can be easily done with python:
from PIL import Image
import sys

im = Image.open("lsb.png", 'r')
pixels = im.load()
width, height = im.size
binary = ''

for y in range(0,width):
   red = pixels[0, y][0]
   green = pixels[0, y][1]
   blue = pixels[0, y][2]
   binary +=  bin(red)[-1]  +  bin(green)[-1]+ bin(blue)[-1]

print(binary)